
Follow Me On Pinterest!
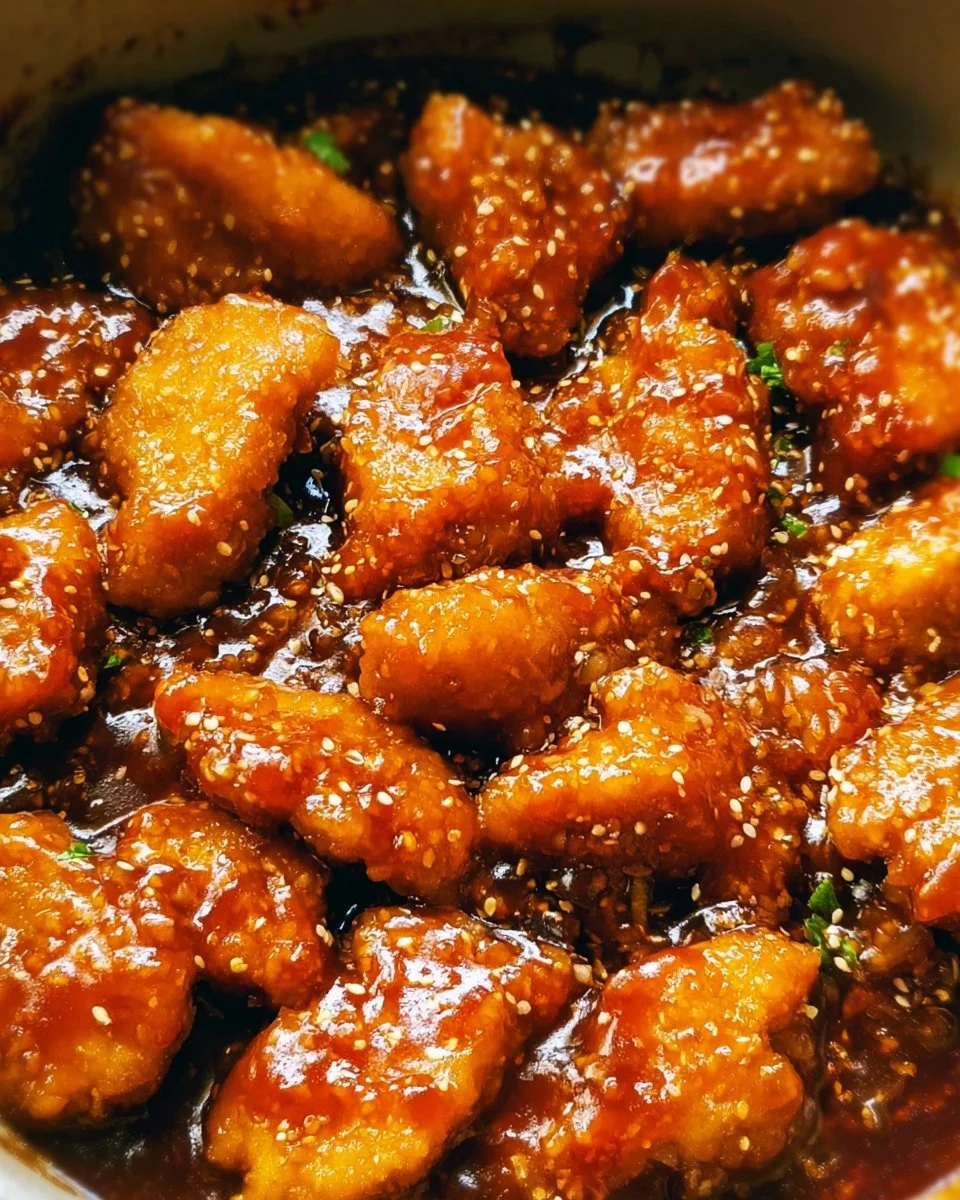
There’s something deeply satisfying about the rich, sweet tang of baked sweet and sour chicken. I can still remember the first time I made it for my family; the aroma wafting through the house seemed to pull them in from every corner, like a warm hug beckoning you to sit down and enjoy a meal together. It’s a dish that bridges the gap between comfort and nostalgia, drawing on flavors that dance with both sweetness and a touch of tartness. Perfect for those weeknights when you want to serve something delightful without overly complicating your evening.
What makes this recipe special
This baked sweet and sour chicken has become a staple in my home for a reason. The contrast of crispy chicken pieces drizzled with that luscious homemade sauce creates a symphony of flavors that manages to be both satisfying and light—all thanks to simple yet effective ingredients. Each bite is an adventure of textures: the tender coating against the juicy chicken, all enriched by that delightful sauce. Plus, it’s not just tasty—it leans into the realm of wholesome, provided you opt for the right cuts and balance the sugars. Think of it as your versatile weeknight warrior, offering comfort while still making you feel good about what you’re serving. What’s not to love about that?
Gather these ingredients
Here’s what you’ll need to create this flavorful dish:
- 4 boneless skinless chicken breasts: Choose fresh, high-quality chicken for the best results. If you prefer, chicken thighs can work here too for a richer flavor.
- Salt and pepper to taste: Basic yet essential for enhancing the chicken’s natural flavors.
- 1 1/2 cups cornstarch: This is the secret to achieving a wonderfully crispy coating. If you’re looking for alternatives, arrowroot powder can work in a pinch.
- 3 eggs (beaten): These will help the cornstarch cling beautifully to the chicken bits, adding the perfect layer of crunch after baking.
- 1 cup granulated sugar: We’re not skimping on the sweetness here; this ingredient balances the vinegars beautifully to create that signature flavor.
- 1/4 cup ketchup: It brings that much-needed depth and a hint of umami to the sauce.
- 1/4 cup white vinegar and 1/4 cup apple cider vinegar: This duo provides a bright, tangy backbone to the dish. Mix and match or even swap for rice vinegar for a different taste.
- 1 tablespoon low sodium soy sauce: Just a touch adds complexity without overwhelming saltiness.
- 1 teaspoon garlic salt: Enhances the overall profile—feel free to use fresh minced garlic for a more pronounced flavor.
- 1/4 cup canola oil: This will help in the browning process before the baking magic begins, but olive oil could also work.
Let’s get cooking
Now, let’s roll up our sleeves and dive into the process:
Preheat your oven to 325 degrees Fahrenheit. This ensures even cooking from the get-go.
Cut the chicken breasts into bite-sized pieces, seasoning them generously with salt and pepper. It’s designating the first layer of flavor.
In separate bowls, create your assembly line: one for the cornstarch and one for the slightly beaten eggs. Dip each piece of chicken first into the cornstarch, ensuring it gets fully coated, then into the egg mixture. This order is key to achieving a crispy crust.
Heat the canola oil over medium-high heat in a large skillet. Once hot, add the chicken in batches, searing until golden brown. Don’t overcrowd the pan—this is about that crucial crispy outcome.
Transfer the browned chicken to a greased 9×13 baking dish, spreading it evenly to allow for even sauce coverage.
In a medium bowl, whisk together the sugar, ketchup, both vinegars, soy sauce, and garlic salt. This is your sauce, and it’s where the magic happens. Pour it evenly over the chicken, ensuring every piece gets a blanket of that sweet and sour goodness.
Bake for 1 hour, stirring every 15 minutes to coat the chicken thoroughly in the sauce. This step is crucial—it ensures each piece is well-rounded in flavor.
Best way to enjoy it
To serve, I like to dish up this sweet and sour chicken with a side of steamed rice—just plain enough to let the vibrant flavors of the chicken shine through. You could even add a sprinkle of sesame seeds on top for an extra touch of elegance. Sautéed veggies, such as snap peas or bell peppers, make for a lovely, colorful addition on the side and round out the meal nicely.
How to store and freeze
If you happen to have leftovers—or if you’re preparing this in advance—storing it is straightforward. Just allow it to cool completely, then transfer it to an airtight container. It will keep well in the refrigerator for about 3 days. For longer storage, freeze it in a suitable container; it can last for up to a month. When ready to enjoy, you can reheat it in the oven or microwave—add a splash of water or chicken broth if it seems dry, to keep it moist.
Pro chef tips
- Don’t rush the frying step—it’s what gives that crispy texture that we all love!
- If you have an air fryer, you could go that route for even less oil and a lighter version.
- Experiment with the sauce by adding a little heat—chili flakes or sriracha can transform the dish, adding an exciting kick.
Creative twists
Feeling adventurous? Here are some fun variations you can explore:
- Pineapple Dream: Mix in some chunks of pineapple into the baking dish towards the end of cooking for added sweetness and texture.
- Sweet Heat: Incorporate a splash of hot sauce into the sauce blend for those who appreciate a little spice alongside the sweetness.
- Vegetable Goodness: Toss in some bell peppers and onions into the baking dish to make it a one-pan complete meal.
Ingredients
- 4 boneless skinless chicken breasts
- Salt and pepper to taste
- 1 1/2 cups cornstarch
- 3 eggs (beaten)
- 1 cup granulated sugar
- 1/4 cup ketchup
- 1/4 cup white vinegar
- 1/4 cup apple cider vinegar
- 1 tablespoon low sodium soy sauce
- 1 teaspoon garlic salt
- 1/4 cup canola oil
Directions to follow
- Preheat your oven to 325°F.
- Cut the chicken into bite-sized pieces and season with salt and pepper.
- Dip the chicken first into cornstarch, then into the beaten eggs.
- Heat canola oil in a skillet over medium-high heat and brown the chicken.
- Transfer the chicken to a greased 9×13 baking dish.
- In a bowl, mix sugar, ketchup, both vinegars, soy sauce, and garlic salt. Pour over the chicken.
- Bake for 1 hour, stirring every 15 minutes.
Your questions answered
- Can I use a different protein? Certainly! Tofu or tempeh can be wonderful substitutes for a plant-based version.
- What if I can’t find cornstarch? You can opt for all-purpose flour instead; just keep in mind the texture may vary slightly.
- Is this dish suitable for meal prep? Absolutely! It holds up beautifully and can be reheated without losing its charm.
- Can I make this with skin-on chicken? Yes, but be prepared for a different texture; you’ll also want to increase the cooking time.
- What should I serve on the side? Rice or a fresh veggie stir-fry pairs wonderfully with this dish.
There’s a warmth that comes from baking this sweet and sour chicken, both in aroma and flavor, that can’t help but make you feel at home. I encourage you to try it out, experiment with your own twists, and enjoy the process of making a dish that’s not only comforting but also brings a bit of joy to the table. And remember, your experiences in the kitchen can inspire others, so feel free to share what you create!
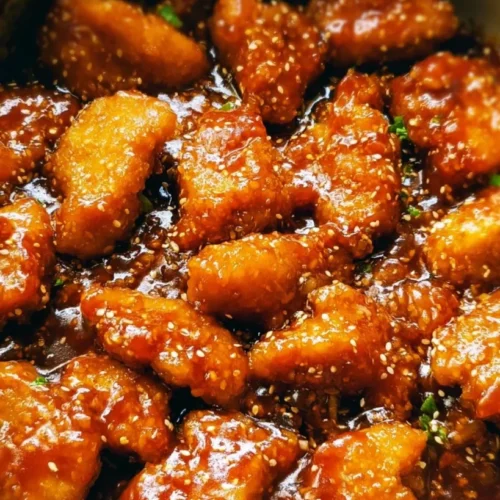
Baked Sweet and Sour Chicken
A comforting dish of crispy baked chicken pieces drizzled with a luscious sweet and sour sauce that balances flavors of sweetness and tartness.
Ingredients
Chicken and Coating
- 4 pieces boneless skinless chicken breasts Fresh, high-quality chicken preferred. Chicken thighs can also be used.
- 1.5 cups cornstarch Secret for achieving a crispy coating. Arrowroot powder can be a substitute.
- 3 pieces eggs (beaten) Helps cornstarch cling to the chicken.
- 1 tbsp canola oil For browning the chicken; olive oil can be used as well.
- to taste salt and pepper Essential for enhancing chicken's natural flavors.
Sweet and Sour Sauce
- 1 cup granulated sugar Balances the vinegars.
- 0.25 cup ketchup Adds depth and umami.
- 0.25 cup white vinegar Provides tang.
- 0.25 cup apple cider vinegar Adds brightness.
- 1 tbsp low sodium soy sauce Adds complexity.
- 1 tsp garlic salt Enhances overall flavor; fresh minced garlic can be used.
Instructions
Preparation
- Preheat your oven to 325 degrees Fahrenheit.
- Cut the chicken breasts into bite-sized pieces, seasoning them generously with salt and pepper.
- In separate bowls, prepare cornstarch and beaten eggs. Dip each piece of chicken first into the cornstarch, ensuring full coating, then into the egg mixture.
Cooking
- Heat canola oil over medium-high heat in a large skillet. Add the chicken in batches, searing until golden brown.
- Transfer the browned chicken to a greased 9x13 baking dish, spreading evenly.
- In a medium bowl, whisk together sugar, ketchup, both vinegars, soy sauce, and garlic salt. Pour the sauce evenly over the chicken.
- Bake for 1 hour, stirring every 15 minutes to ensure even coating in the sauce.
Notes
Best served with steamed rice. You can add sautéed veggies like snap peas or bell peppers for a complete meal. Store leftovers in an airtight container for up to 3 days in the refrigerator, or freeze for up to a month.