
Follow Me On Pinterest!
There’s something about the smell of freshly made waffles that feels like a warm hug—an early-morning invitation to linger over coffee and conversation. I remember my parents making waffles on lazy weekend mornings, the smell wafting through the house, captivating us before our eyes were even fully open. That comforting experience is what inspired me to create the perfect buttermilk waffles, and believe me, they’re exactly what you need to start your day right.
The beauty of this recipe lies not only in its flavor but in its versatility. You can have them sweet, drizzled with maple syrup and topped with fresh fruit, or stick to a savory spin—think fried chicken on the side. Whatever direction you take, these waffles will graciously support your breakfast dreams.
Reasons to try it
Why make these buttermilk waffles? Let’s start with the texture: they’re light and fluffy on the inside, with just the right amount of crispiness on the outside. This delightful contrast makes every bite an experience rather than just a meal. The buttermilk lends a slight tang, elevating the usual sweetness of breakfast, so you aren’t just diving into a sugar bomb. It’s a balancing act that feels layered and thoughtful, but guess what? There’s no need for any culinary sleight of hand here—it’s straightforward yet rewarding.
Beyond flavor, these waffles are wonderfully adaptable. Have some leftover batter? You can store it for later—or cook up a fresh batch for brunch friends. They’re a canvas waiting for your creativity, whether it’s a handful of chocolate chips, a sprinkle of cinnamon, or even some chopped nuts for added texture. It’s this versatility that keeps me coming back to them.
Gather these ingredients
Before we jump into cooking, let’s take a moment to gather our ingredients. Here’s what you need:
- All-purpose flour (2 cups): Make sure to scoop and level it for accuracy—too much flour can lead to dense waffles.
- Sugar (3 tablespoons): Just enough to balance the tang of the buttermilk without overwhelming it.
- Baking powder (2 teaspoons): This is your lift, giving those waffles their delightful fluffiness.
- Baking soda (1 teaspoon): Works in tandem with the buttermilk to create lift and tenderness.
- Salt (1 teaspoon): It enhances every flavor in your mix, from the sweetness to the tang of the buttermilk.
- Buttermilk (2 cups): If you don’t have buttermilk, you can make a substitute with milk and a splash of vinegar or lemon juice.
- Large eggs (2): They add richness and stability to the batter.
- Melted butter (1/3 cup, cooled): Adds flavor and a silky texture. If you’re feeling health-conscious, you can replace some of it with applesauce.
- Vanilla extract (2 teaspoons): For that warmth and aromatic quality that rounds out the flavor.
How I make this at home
Now that we’re all set with ingredients, let’s put them to good use. Here’s the step-by-step process for crafting these lovely waffles:
- In a large bowl, add the all-purpose flour, sugar, baking powder, baking soda, and salt. Whisk them together until well combined.
- In a separate medium bowl, whisk together the buttermilk, eggs, melted butter, and vanilla extract until the mixture is smooth and the eggs are fully incorporated.
- Pour the wet mixture into the dry ingredients, whisking gently just until combined. It’s okay to have a few lumps; this isn’t the time for over-mixing.
- Allow the batter to rest for about 10 minutes. This gives the baking powder a chance to work its magic. Meanwhile, preheat your waffle iron.
- Once your batter is ready and the iron is hot, pour in the appropriate amount of batter—about 1/3 cup for an 8-inch round waffle iron works well. Cook until golden brown—about 2 to 3 minutes, depending on your iron.
- Repeat the cooking process until all your waffles are done, placing them on a baking sheet in a warm oven if necessary to keep them cozy while you finish cooking.
How to plate and pair
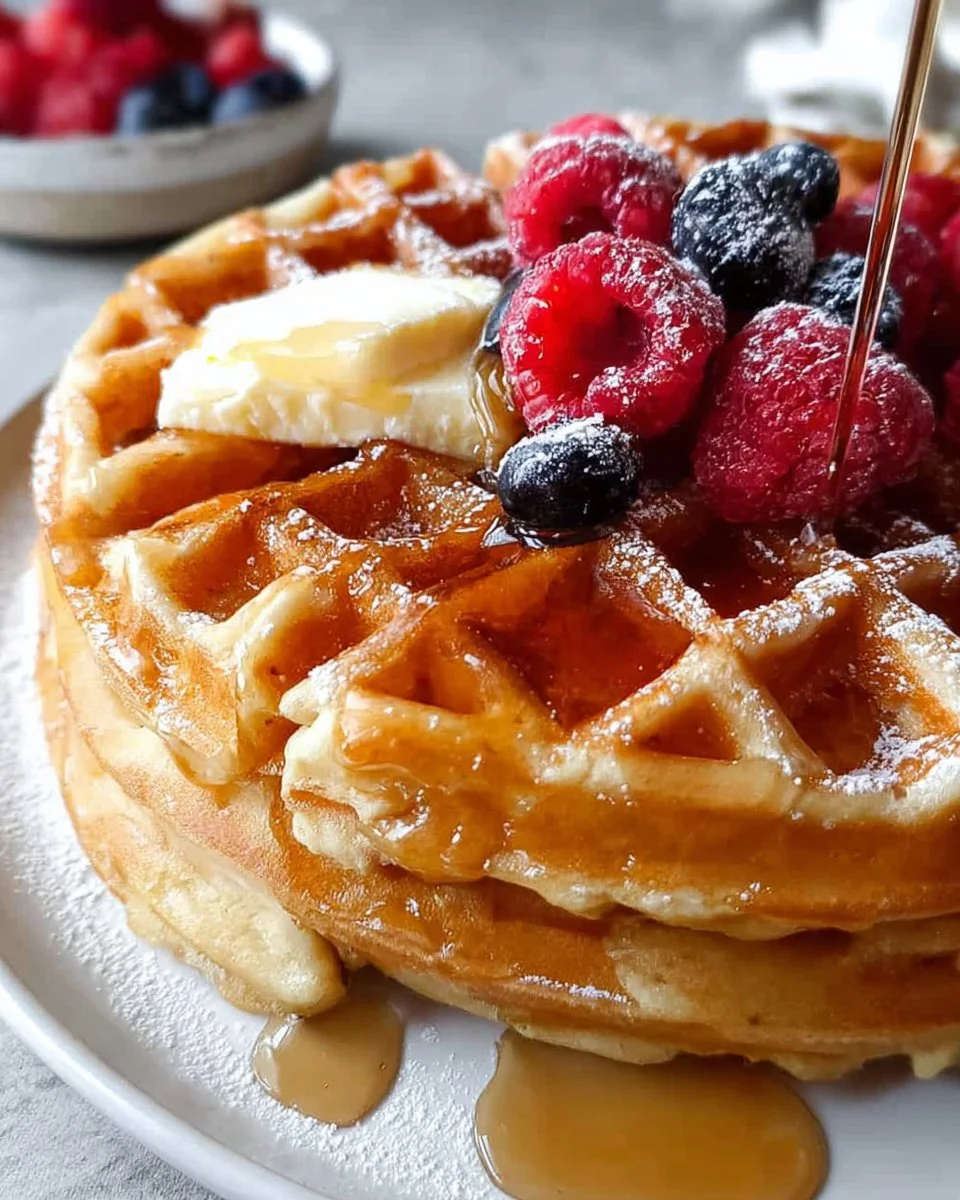
Now for the fun part: serving. I love to pile my warm, crispy waffles high on a plate and indulge with a generous drizzle of maple syrup and a handful of fresh berries. Sliced bananas or toasted nuts can add even more texture and flavor. If you really want to impress, a dollop of whipped cream can take it to another level.
For those feeling a bit adventurous, consider savory toppings like a poached egg and sautéed spinach or even crispy bacon—because why not?
How to store and freeze
Got leftovers? First off, you’re lucky. Cooked waffles can be stored in an airtight container in the fridge for about 2-3 days. For extended storage, freeze them! Just let them cool completely before placing them in a single layer on a baking sheet. Once frozen, transfer them to a freezer bag and keep them for up to a month. Just pop them in the toaster or oven to reheat, and they’ll be just as delightful as the first day.
Tips for a successful recipe
Here are a few quick tips to elevate your waffle game:
- Make sure your ingredients are at room temperature; it helps with even mixing and better texture.
- For extra crispy waffles, consider letting your batter sit for longer than 10 minutes—it’s worth the wait.
- Remember, preheating your waffle iron is key—it ensures even cooking and a great rise.
Creative twists
Feeling experimental? Here are a few variations to spark your creativity:
- Chocolate Chip Waffles: Fold in some mini chocolate chips for a delightful treat.
- Cinnamon Roll Waffles: Add cinnamon and brown sugar to the batter for a fragrant twist.
- Whole Wheat Option: Swap half of the all-purpose flour for whole wheat flour for a hearty touch.
Ingredients
- 2 cups all-purpose flour (scooped and leveled)
- 3 tablespoons granulated sugar
- 2 teaspoons baking powder
- 1 teaspoon baking soda
- 1 teaspoon salt
- 2 cups buttermilk
- 2 large eggs
- 1/3 cup butter (melted and cooled)
- 2 teaspoons vanilla extract
Directions to follow
- In a large bowl, whisk together the flour, sugar, baking powder, baking soda, and salt.
- In another bowl, whisk buttermilk, eggs, melted butter, and vanilla until smooth.
- Pour the wet mixture into the dry ingredients and mix gently until just combined; don’t overmix.
- Allow the batter to rest for 10 minutes while your waffle iron heats up.
- Spoon batter into the preheated waffle iron and cook until golden brown, about 2-3 minutes.
- Repeat until all batter is used, keeping waffles warm in the oven if necessary.
Your questions answered
- Can I make the batter ahead of time? Yes, you can refrigerate the batter overnight; just give it a good stir before using.
- What waffle iron works best? A Belgian-style waffle iron yields thick, fluffy waffles, but any style you have will do.
- Can I double the recipe? Absolutely! Just adjust your mixing bowls accordingly and enjoy a waffle-filled morning.
- What toppings do you recommend? Maple syrup, fresh fruits, whipped cream, or yogurt all pair beautifully with these waffles.
- Are there dietary swaps I can make? You can use dairy-free substitutes for buttermilk and butter, and whole wheat flour for a healthier alternative.
I hope these buttermilk waffles bring you the same joy they do for me. Experiment with them, enjoy every bite, and maybe even share your versions. Because at the end of the day, sharing food is sharing love—and I can’t wait to hear how yours turn out.

Buttermilk Waffles
These light and fluffy buttermilk waffles are a comforting breakfast option that can be enjoyed sweet or savory.
Ingredients
Dry Ingredients
- 2 cups all-purpose flour (scooped and leveled) Too much flour can lead to dense waffles.
- 3 tablespoons granulated sugar Balances the tang of the buttermilk.
- 2 teaspoons baking powder Provides lift for fluffiness.
- 1 teaspoon baking soda Helps create lift and tenderness.
- 1 teaspoon salt Enhances all flavors.
Wet Ingredients
- 2 cups buttermilk Can substitute with milk, vinegar or lemon juice.
- 2 large eggs Adds richness and stability.
- 1/3 cup melted butter (cooled) Can be partially replaced with applesauce.
- 2 teaspoons vanilla extract Provides warmth and aromatic quality.
Instructions
Preparation
- In a large bowl, whisk together the flour, sugar, baking powder, baking soda, and salt.
- In another bowl, whisk buttermilk, eggs, melted butter, and vanilla until smooth.
- Pour the wet mixture into the dry ingredients and mix gently until just combined; don’t overmix.
- Allow the batter to rest for 10 minutes while your waffle iron heats up.
Cooking
- Spoon batter into the preheated waffle iron and cook until golden brown, about 2-3 minutes.
- Repeat until all batter is used, keeping waffles warm in the oven if necessary.
Notes
Make sure all ingredients are at room temperature for better mixing. For extra crispy waffles, allow the batter to sit for longer than 10 minutes. Preheating your waffle iron is key for even cooking.